How to Properly Setup Your Camera for A Professional Photoshoot
Having a great camera doesn’t automatically make you a photographer. It requires skills and correct camera settings to capture the best photo yet. To produce amazing photos, you should know how to set up your camera based on your subject, location, and mood.
If you’re new to adjusting your camera settings, check out this article providing a cheat sheet to the most important elements any aspiring or professional photographer should know about, or navigate to this website for an online photography school. Below are some of the things to keep in mind if you’re setting up your camera for a professional photoshoot:
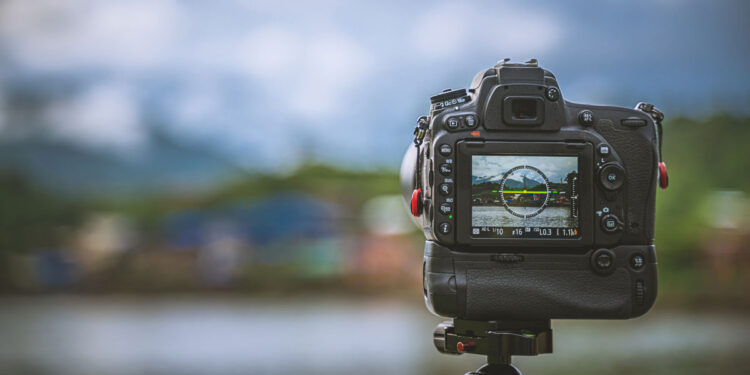
1. Use A Tripod
Most people who practice photography hate using a tripod since it limits their movement and the range of angles they can take. They find it difficult to widen their creativity when they’re restricted to a single position.
As much as is true, using a tripod helps you slow down. It helps you to adjust your manual settings, analyze the light, and do test shots. In this way, you’ll get more time to adjust to the perfect setting, producing quality results. Remember, it takes time to find the perfect setting for the perfect photo.
Also, with a tripod, you can communicate with your model more effectively and develop rapport. You can talk eye-to-eye compared to when your eyes are completely focused on the camera instead of your model. This will make your model feel more comfortable and can produce better quality photos.
2. Choose Appropriate Lenses
As far as photography tools go, good quality lenses are probably one of your best investments. An entry-level camera equipped with a good quality lens can create breathtaking photographs, just like an expensive high-end digital camera. In short, you get more bang for your buck if you’re investing in excellent glass rather than in a good body alone. Depending on your preferences and the subject matter of your shoots, you can easily determine what lens to use and which one is the best investment.
3. Take Note of ISO
When capturing portraits, you’ll want to produce high-quality photos so that the details of their face will be more prominent. Check the ISO settings and set it to low between 100-400 to avoid excess noise in your photos. However, if you’re shooting with low light (indoors), don’t be afraid to increase your ISO to 800 or even to 1600. Take note that you can open your aperture if your light is low to add more brightness to your photo.

4. Don’t Use Burst Mode
When you’re in burst mode and you have multiple subjects, most of the time, you won’t get a single photo that works great. Chances are your subjects will have their eyes closed or be in an awkward position. Talk to your models and make them feel comfortable. When you see the perfect moment, take a photo. This will produce a better output than using burst mode. This isn’t a sporting event after all.
5. Focus
When you take a photo of your subject, always choose a single focus point and not multiple ones. It’s highly recommended that you focus on your subject’s eye. When your model’s in an angled pose, focus on the eye that’s a lot closer to the camera, and make the other eye appear softer. If you’re to focus on a different eye, it would appear unnatural and not professional-looking.
Research solutions related to photo AI generator to enhance the efficiency and creativity of your photography projects.
It’s also recommended that you remove the ability for your camera to auto-focus as this may not focus the right subject and might produce a different outcome than intended. You should learn how to do the back button focus so that you can adjust the focus manually yourself.
6. Adjust the Shutter Speed
Setting your shutter speed depends on your subject. If you’re not working on moving subjects, and just an adult or a teen, you can set the shutter speed to 1/15th or 1/8th of a second. Just ask them to stay relatively still.
If your subject are kids or families, they tend to move a lot. So, it’s best to increase your shutter speed to 1/125th or higher and you can adjust as needed. This’ll allow to you capture crisp photos without having to deal with blurry hands and closed eyes.
Conclusion
When you’re taking photos professionally, you should adjust your settings manually so that you could get the most out of your photos. There are a ton of camera settings that you could work on that could help with improving your photo quality. When it comes to printing your photos, make sure that you take post-edit seriously and print directly to a quality printer to provide you the same gorgeous results as similar to your screen.
No matter how fast you want to get it over with, taking photos professionally takes time, especially if you’re working outdoors with changing light quality. It’s best to study the area and adjust your camera setting accordingly so you could produce the best photos possible.