A Photographer’s Basic Guide to Printing Premium-Quality Photos
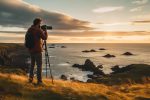
It’s always a photographer’s dream to see his/her work in print, where other people can also take in the beauty of your visual storytelling. However, printing your photos to life requires more consideration, as they can make or break your stature as a photographer.
But it doesn’t have to be as scary as it sounds. Before you plug your printer or send your photos to the lab, check out this basic guide to making guaranteed premium printed versions of your masterpieces!
Before printing
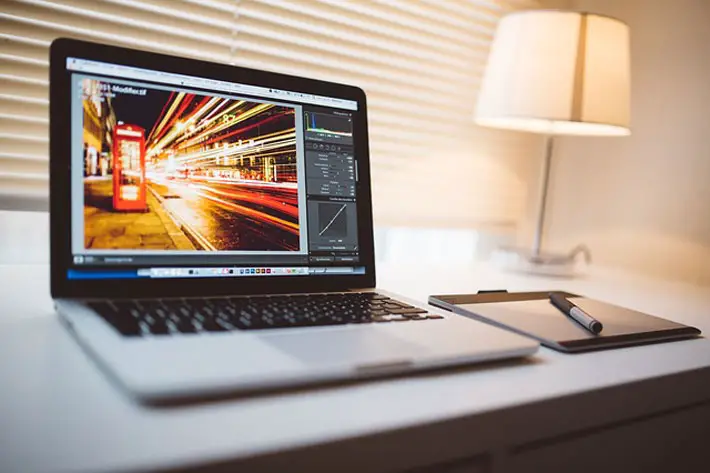
The first crucial thing to tackle is your monitor’s display capacity. The monitor you use to view your photos plays an integral part in the printing of your photos. If your photos appear brighter than they normally are due to your monitor’s display calibration, you’ll be urged to colour correct the photo into something darker. In turn, when the photos come out, they look way darker than their original colour.
Before you proceed with the post-production stuff, make sure your monitor can display your photos right. Your monitor should support the Adobe RGB colour space. Otherwise, it may convert the most intricate colour details of your photos into something else and affect how it displays your photo.
Monitor resolution is also more important rather than size. You want your monitor displaying the matching resolution of your photos, or else, the same effect would happen with the colour factor.
Whether you’re buying a new monitor or sticking with your current one, don’t forget to calibrate your monitor’s colour display too. You can make the calibration (and trust your eye) through your computer’s settings, or use software like X-Rite for more accurate calibration.
Treat your post-production process as an important stage
Choosing the best photos to print among your hundreds of photos stored in your camera is a hassle. You could sort them out one-by-one, but that takes too much time and effort.
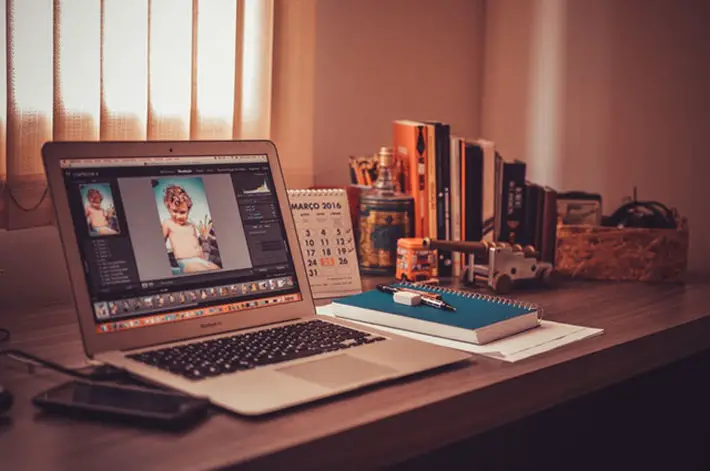
In this case, it’s always best to ask for tools for help. Applications like Adobe Lightroom and Adobe Bridge can make things easier for you. For instance, Lightroom is a handy tool for colour correction and bulk editing. Adobe Bridge offers features that make your image organisation easier.
Take this stage too as your last opportunity to make last-minute changes with your photos – colour correction, image resizing, and more – to make your photos fit for printing.
What file format is recommended when printing photos?
To print photos with the utmost quality, take your photos in RAW and stick to file formats that don’t compress your images, like PSD. Avoid printing in JPEG format as it compresses your image and discards some colour details of your photos.
If your camera’s incapable of shooting in RAW, the only trick here is to not compress your image further when editing. You can import your JPEG photos straight to your editing software like Lightroom to edit them without sacrificing your file’s quality.
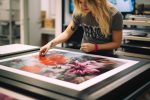
The actual printing
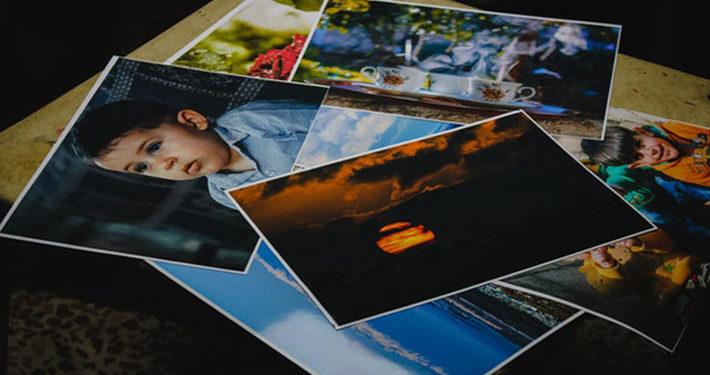
Choose the best photo paper. Photo papers are the ideal medium for most types of printing preferences, and they come in different variations, ranging from the texture to the quality of colours they can produce.
Perhaps the most common question about photo papers is the argument over which is better, matte or glossy? There’s no definite answer to that, since photographers have different preferences, and some photos turn out better when printed on matte or glossy.
The best move here is to keep test printing on both types of photo paper until you find the output that suits your liking. As a tip, print a portion of your image first on both types of paper to see which produces your preferred output. This will save you the stress of wasting paper, ink, and time.
Whatever type of photo paper you prefer, just ensure your chosen paper is acid-free. Acid-free photo papers last longer and keep your photo clear and intact for a long period of time.
Another crucial part here is integrating the profile of the paper you’ll use. This lets the printer know how the paper would react with the ink so the printer can determine how it will process your photo on paper.
Photo papers from Epson or Canon usually have their paper profiles set already for printers. If you’re buying from other photo paper companies, you can search and download for their paper profiles online.
Your printer matters
If you’re planning to print your photos at home, you must invest in a good printer, preferably an inkjet printer. This type of printer is known as the best choice for image printing as it produces output with better and smoother colours than laser printers. It can also handle different types of photo papers such as glossy and matte photo papers, and even fabric ones.
There are plenty of good inkjet printers in the market today, but one that stands out most is the Canon PIXMA MG5750. It has superb printing quality and produces printed photos according to your expectations. It boasts five ink cartridges to print out your photos without sacrificing the rich spectrum of your photos’ colour gamut.
It also has WiFi connectivity feature, making it easy for you to print wherever you are in your office.
You can check out this MG5750 review to learn more about this printing beauty.
Print directly from your photo-editing software
This allows you more control over the printing process and the quality of the output, such as handling of paper and colour of the output.
Just ensure your printer doesn’t overtake your print handling options. Before hitting the print button, give access to your editing software to manage the colour handling, so that the adjustments you make are guaranteed to appear in the printed versions.
But I’m only planning to send my photos to the lab
If you want to entrust the printing of your photos to the experts, that works too. But before you send them to the lab, make sure to follow the pre-printing must-do listed here.
It would also be ideal to talk with someone from the lab to ask for the printer and paper they’ll use. You can also ask the paper profile so you can download and test print at home, allowing you to tweak your photos some more before letting the print experts do their job.