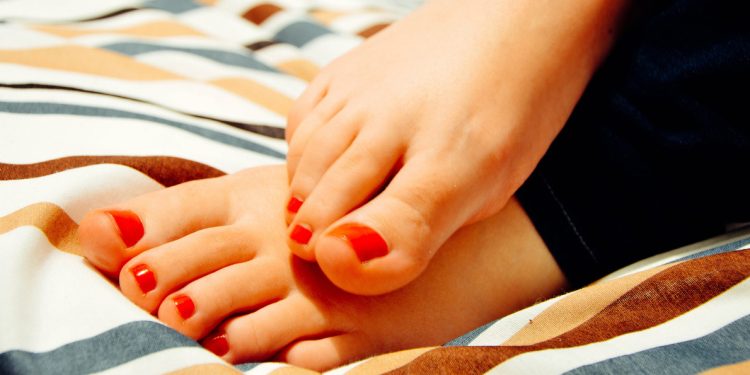
How to Do a Pedicure at Home

What to do if you do not have time to go to a beauty salon or you are still looking for “your” master?
Try to make the perfect pedicure at home. You need to prepare a pedicure tool set, foot softeners, and moisturisers.
Then follow the instructions.
Step 1: preparation for the procedure
You should prepare a bath with warm water. Add sea salt and essential oils (eucalyptus, tea tree).
This is necessary to:
– remove dirt on the legs;
– soften the skin on the fingers and on the feet.
The procedure time is 10-15 minutes. Then you need to wipe your feet dry.
Step 2: cuticle removal
One of the must-have attributes that will come in handy at this stage is the separator. It facilitates the handling of the toes and improves visibility.
If there is no separator, roll the cotton into small balls and insert them between your toes.
The next pedicure step at home is a cuticle cut. A delicate procedure that requires accuracy and care.
There are several ways to remove thin skin:
1. applying a remover on a cuticle and removing it with an orange stick;
2. processing the cuticle with a spatula (you need to “peel off” the skin) and scissors with thin blades
The first method is more suitable for those who do a pedicure for the first or second time.
The second way is for girls who have learnt to carefully cut the cuticle with scissors or nippers.
Step 3: nail folds rough skin removal
Another step that requires carefulness is the removal of rough skin from the nail folds.
It makes the appearance less aesthetic. It is tight, and sometimes turns yellowish or brownish.
It is recommended to remove rough skin with cuticle nippers. You need to “remove” one or two millimetres.
Step 4: adjust the length of the nail plate
Before you do an at-home pedicure, prepare one of two tools like a nail nipper or nail clippers.
Using them you can remove excess length. Movements must be clear and confident. The nail is cut off in 2-3 “closings” of the tool.
It is not recommended to remove the length in short sections. This practice leads to delamination of the nail plate, the ingress and development of infections.
An important question: what is the optimal length of a toenail?
A free edge of 1.5-2 mm is the gold standard.
Cutting off the nail from the root, you make the procedure more painful, because nerve endings are located at the fingertips.
Moreover, if you cut off the free edge of the nail completely, a small hole will appear where dust and bacteria may develop. After cutting, the free edge is treated with a 100 or 180 grit nail file.
Step 5: Coating
Now you can cover the nail plate with ordinary polish (it dries in the air) or use a three-phase gel system: base, gel polish and top coat.
For the second option, an LED or UV lamp is used to dry each layer of the coating.
Step 6: foot treatment
The skin of the feet is quite vulnerable. Wearing open toe shoes, it is always in contact with hot air and dust, in warm shoes it is with high temperature and humidity.
This leads to the appearance of microcracks and calluses. They are removed with a special grater. Use it to treat problem areas.
After that, you need to wash and wipe the legs dry, and apply a moisturiser.
Key point
Another thing that you need to consider before doing a pedicure at home step by step is the presence of scratches, cracks and other damage on the nails, cuticles or feet.
It is preferable to put the procedure aside until the wounds are completely healed so as not to aggravate them.
Now you know how to do a home pedicure, and you can safely repeat this experiment at any time.


