How To Restore An Old Hardwood Floor

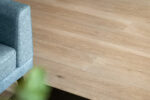
Original hardwood floors are a feature well worth preserving. Such floors can last for hundreds of years, making them historical artefacts and impressive pieces of craftsmanship. Hardwood floors also have a natural beauty to them – every floor has its own unique grain and knots, which gives it its own character. As a result, such floors are highly sought after by buyers and can greatly add to a property’s value.
Of course, hardwood floors can get scratched and stained over time, which can make them look less attractive. Fortunately, these flooring flaws are easy to fix – you can sand away a lot of the damage, while still preserving their individual texture. You can hire someone to do this, or you can do it yourself. For those willing to try this as a DIY project (you could save a lot of money!), here is a step-by-step guide on exactly how to restore your old hardwood floor.
Step1: Assess the damage
While most hardwood floors can be rejuvenated, it is possible for a hardwood floor to be so damaged that it is beyond saving. It is important to fully assess the floor before you begin to determine whether it is more practical to refinish your floor or replace it.
Your hardwood floor may need replacing if:
● There is extensive warping and buckling
● The floorboards are rotten as a result of moisture damage
● There is major damage caused by insects or other pests
● There are deep scratches or gouges that cannot be sanded out
● The wood has already been sanded down numerous times and is becoming too thin to sand again
Otherwise, you should be able to restore a hardwood floor if:
● There are only small scratches or dents
● There are surface stains from paint or other liquids (most stains will only be surface-deep)
● There is discolouration from the sun
● The finish is worn and has lost its sheen or has become patchy
Step 2: Gather your tools
You will need several tools to restore your hardwood floor. These include:
● A broom or vacuum cleaner
● A mop or wet cloth
● Sanding paper (in various grits from course to fine)
● A portable sanding machine (this could be a handheld oscillating tool or a more heavy-duty floor sander)
● Wood filler
● Stain or sealant
● An applicator (a brush or a roller)
● Safety gear (this could include a dust mask, goggles and potentially ear protection)
Step 3: Clear the area
Before you can begin work on your floor, you will need to clear it of any furniture and belongings. This will allow you full access to every part of the floor and will also prevent furniture getting dusty or getting sealant on it. You may be able to move all your belongings into another room temporarily while you work on the floor. Alternatively, you can put your belongings into temporary storage. Be careful when removing heavy possessions.
Step 4: Clean the floor
The floor needs to be completely free of dirt, dust and debris before you start sanding. This is because you could end up scratching the floor further if there is still debris on it. Start by brushing or vacuuming away loose dust and debris. Then use a damp mop or cloth to remove any stubborn dirt (do not soak the floor as this will likely cause water damage). Let the floor dry and then you can begin sanding.
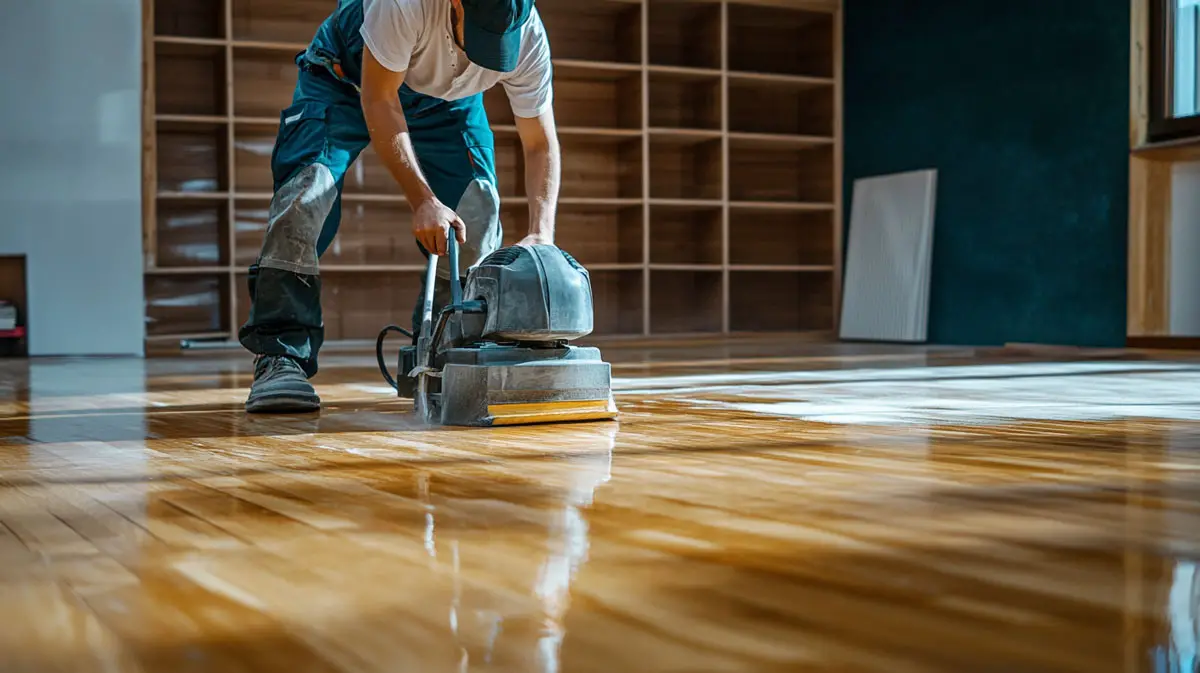
Step 5: Sand the floor
Using a portable sanding machine, begin sanding your floor using coarse sandpaper at first to remove the old finish and any imperfections. Work in the direction of the grain. Once you’ve done the whole floor, switch to using a medium grit sandpaper and repeat. Finally, smooth out the surface using a fine grit sandpaper. Make sure to vacuum between each sanding stage to remove dust. The sanding stage is likely to be much quicker if you use a purpose-designed floor sander. Handheld oscillating tools can be used to sand a floor, but you probably don’t want to use them on a very large area of flooring as it will take longer and will be more strenuous on your arm.
Step 6: Fill gaps and cracks
Some deep gaps and cracks are better to simply fill rather than trying to sand away multiple layers. Make sure to choose a wood filler that matches the wood tone of your floor. Allow the filler to dry according to the manufacturer’s instructions. You may need to lightly sand over the area afterwards to remove any filler protruding out.
Step 7: Apply finish
Once your floor is clean and smooth, you can think about applying a stain or sealant. Stains add colour, while sealants add a coating to protect against moisture. There are various different sealants you can choose from including polyurethane, wax, shellac and varnish. Take the time to choose one that you think is best suited to your floor. Use a brush or roller to apply the stain or sealant, working along the grain. You may need to apply additional coats for the desired colour and protection. Between each coat of finish, allow the previous coat to dry completely first. Wait until the final coat is completely dry before placing furniture and belongings back into the room.
A final note
Wearing a mask and goggles is recommended while carrying out sanding. Breathing in wood dust can lead to respiratory issues, while not wearing eye protection could lead to dust getting in your eyes and causing damage. A mask may meanwhile be worth wearing while applying finish as to not breathe in too many fumes.
Keep the room well ventilated to help get rid of dust in the air. This will not only stop you breathing in harmful dust and fumes, but could stop dust settling on your floor as you’re applying finishes. Keep windows open throughout the process or use an extractor fan.
Periodic maintenance can help to prolong the life of your restored hardwood floor and may help prevent repeat refinishing. This includes regularly cleaning your hardwood floor.