How to Restore Old Photos: Step-by-Step Guide

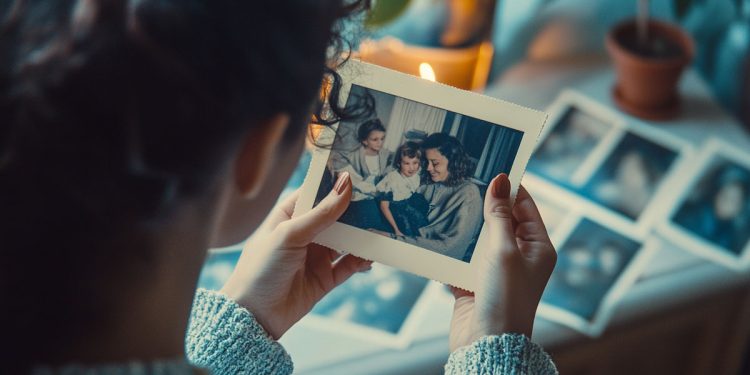
Time cannot affect true love and our memories of the most important moments. However, it may damage the way we preserve them, making it harder to transmit the precious stories to others. A yellowed corner or a tear across the smile of a loved one can ruin the charm of old pictures.
Photo restoration software offers a second chance to the stories from the past, even with no previous photo editing experience. With modern tools, you can bring these images back to life quicker and easier than you might expect. We will walk you through every step to regaining your visual treasures and making them shine like never before!
Step 1: Preparation
When you want to fix old photos, keep in mind that they are very fragile. Prepare physical prints with care before you launch a scanner and download the photo editing software. Place your photo on a clean, dust-free surface and wipe it with a soft cloth. Moisture or cleaners are not required; they are potentially dangerous. Removing derbies ensures optimal scanning quality.
Scan the picture at the highest resolution possible. 600 DPI and more is the preferable parameter for photo restoration. It will ensure the necessary amount of detail for more precise adjustments later on. Choose lossless file formats like TIFF or PNG. It will let you avoid compromising quality because of compression loss.
In some cases, the scanned image might include blank space around the photo. Some parts of the image may become irrelevant due to damage. Knowing how to reduce the picture’s size digitally can help fix this issue. Cropping and trimming keep the actual subject in focus without distractions. It improves the general composition and reduces the amount of work required in later editing stages. Organize your files clearly. Make one folder for your original scans and another for edited versions for easy comparisons and backups if your software does not include non-destructive editing.
Step 2: Basic Adjustments
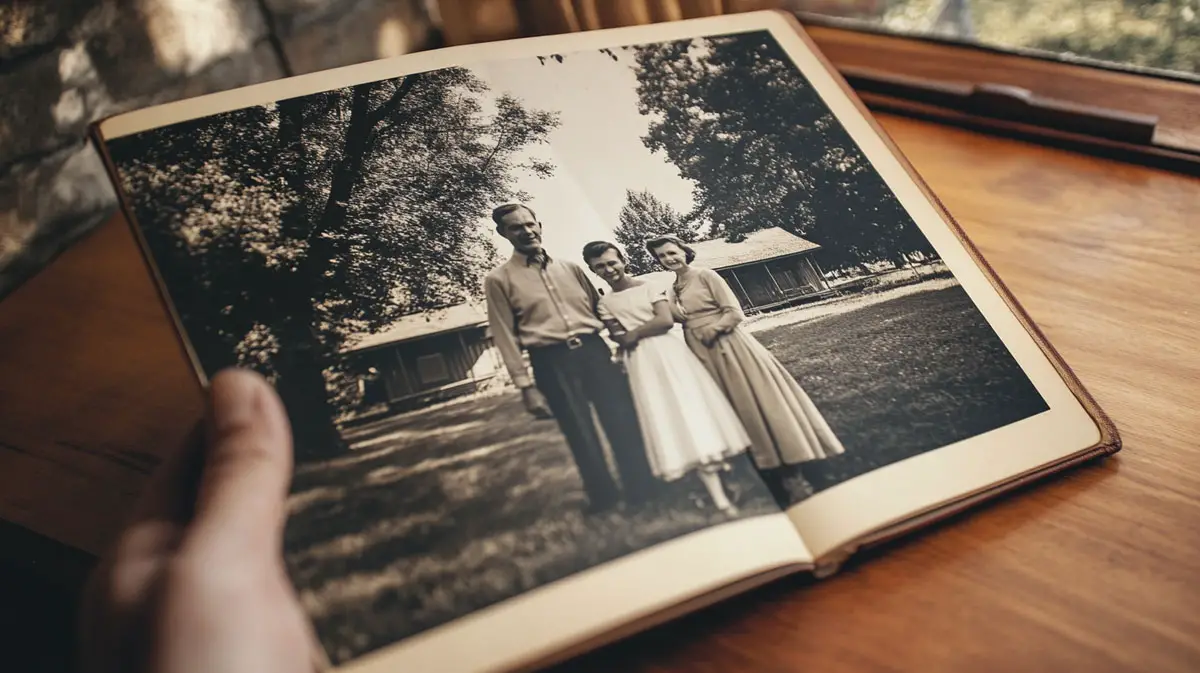
Open the scanned shot using the editing software of your choice. A tool with layer support and healing tools will be great for users who are new to picture restoration. Start by straightening. Storing photos in albums leads to warping and tilted scans as a consequence. Crop the unwanted borders and scanner bleeds.
Adjust brightness, contrast, and sharpness. These subtle tweaks will bring back depth in faded shots. Avoid overdoing; the significance of old pictures lies in the past-time charm and authenticity. Excessive, unnatural edits can ruin the appeal.
If the photo has dust marks or small scratches, use the healing or clone stamp tool to remove them carefully. Be precise and attentive around facial features, hands, or key objects. Restore structure and clarity. Save your work often and consider creating different file versions after each major step.
Modern software often includes batch-processing or one-click enhancement features, but they shouldn’t be your first move. These features can sometimes oversaturate or blur major areas. Apply automatic adjustments selectively and opt for precise manual control to achieve visual perfection.
Step 3: Bringing Back Details
Start with colour correction if the image was originally in colour. Old prints often develop a yellow or magenta tint over time. Use selective colour adjustment tools to the casted areas instead of altering the whole image. Target specific colour channels to neutralize discolouration. Skin tones and clothing hues should remain untouched.
Move on to deeper damage — creases, rips, ink smudges, or large missing areas. The healing brush and clone stamp are still your go-to tools. Use them meticulously and sparingly. Zoom in and work at a pixel level, especially when working with facial features, hands, and backgrounds. Sampling similar textures from undamaged areas will help maintain realism.
AI photo restoration tools can be particularly useful at this stage. The AI tools can automatically reduce noise, improve facial definition, or even predict missing parts of an image. However, be cautious and ensure the original content is enhanced, not overpowered. If the edits look unnatural, cancel them and go back to manual modifications.
For black-and-white photos, avoid over-sharpening. Too much clarity can create harsh lines that weren’t present in the original. Instead, enhance midtone contrast and use dodge and burn tools. They will shape light and shadows more subtly.
Take breaks and return with fresh eyes. Reviewing with some distance helps maintain a balance between restoration and authenticity. Once satisfied, save the edited photo on your device in the preferred format and share it online if you want to.
Conclusion
Restoring a damaged photograph goes far beyond fixing an image; it gives a second chance to a moment from the past once considered lost. From cleaning and scanning to subtle adjustments and detailed fixes, the recommendations from this article will serve you for years to come. Take pride in the process. Share the results with loved ones. Capture more happy moments, and don’t let them disappear.


